
Affiliate Disclosure
Some links on this page are affiliate links. As an Amazon Associate, we earn from qualifying purchases — at no extra cost to you. We do not buy, install, or physically handle the lights and decorations we cover; our rankings come from aggregated owner feedback and expert consensus, not first-hand testing. Commissions never change our verdicts. How we research · full disclosure.
Top 3 Picks
Knowing how to hang Christmas lights outside safely rests on three fundamentals: outdoor-rated gear, a GFCI-protected outlet, and clips matched to each surface so you never drive a nail or staple. Get those right and the rest is layout and spacing. This guide walks the whole outdoor job — planning the run, choosing clips, powering it safely, and automating it with a timer.
Tools and materials
- Outdoor-rated Christmas lights (LED strands recommended)
- Outdoor extension cords and a GFCI-protected outlet or adapter
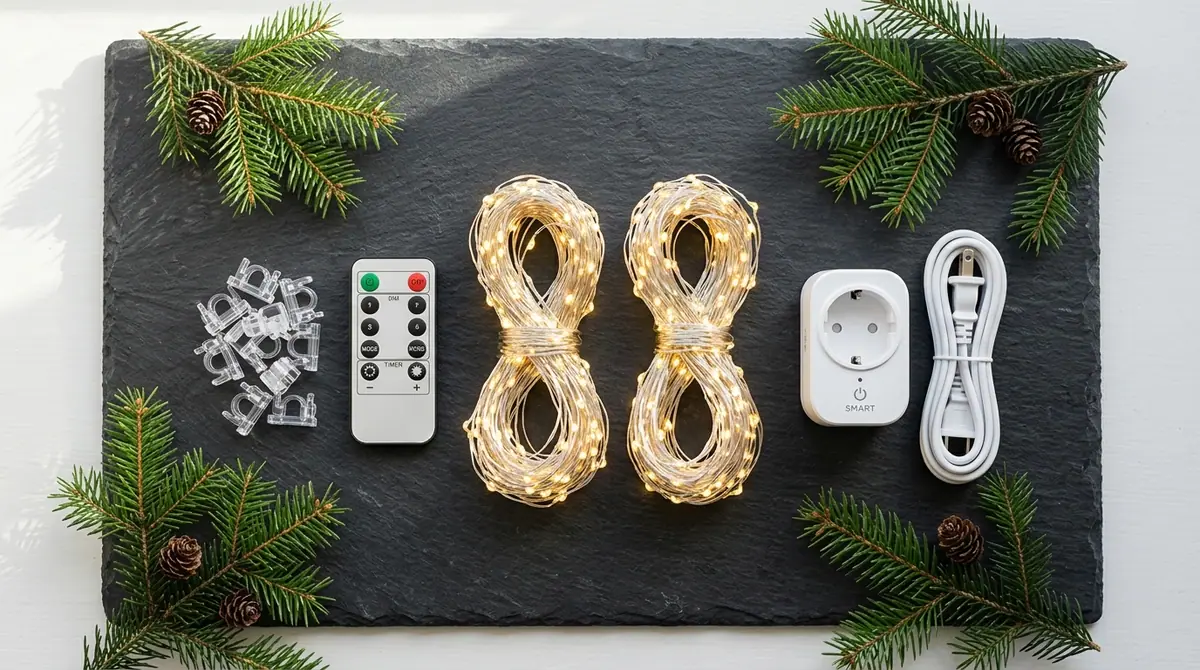
- Clips matched to your surfaces — gutter, shingle, brick, and adhesive hooks
- A sturdy ladder and a spotter, or a light-hanging extension pole
- An outdoor timer or smart plug
- A tape measure, a helper, and a sketch of each elevation
How to hang Christmas lights outside, step by step
- Sketch and measure the elevations. Draw the front of the house, mark the gutters, rooflines, trees, and bushes you want lit, and measure each run so you buy the right lengths.
- Match a clip to each surface. Gutter clips for gutters, shingle clips for the roof edge, brick clips for brick, adhesive hooks for siding or stucco — one clip type per surface.
- Test every strand on the ground. Plug in and confirm each set lights fully before it goes up.
- Pre-clip where you can. Attach clips to the strand at your spacing on the driveway, then lift the prepared run into place — much faster than clipping at height.
- Mount from the edge, working safely. Clip along gutters and rooflines from a ladder or extension pole, spacing clips about every 12 inches and reinforcing corners.
- Add ground and tree elements. Stake pathway lights, wrap tree trunks, and net the bushes after the roofline is done.
- Route cords to GFCI outlets. Connect strands within their limit, keep connectors off the ground, and split large displays across separate GFCI outlets.
- Add a timer and do a dusk check. Set a timer, light the display at dusk, walk to the street, and adjust anything crooked or unlit.
Matching clips to every outdoor surface
The reason people damage their houses is using one fastener everywhere. Each surface has a purpose-made clip that grips without holes: gutter clips hook the gutter lip, shingle clips slide under the roof edge, brick clips wedge into mortar joints, and outdoor adhesive hooks stick to siding or stucco. All-in-one clips flip between gutter and shingle where a roofline changes. Staples and nails have no place in a seasonal display — staples pierce the wire insulation and create a shock and fire risk. The best christmas light clips and best light hooks roundups compare types by surface.
Surface-by-surface guides
Because each material has its own trick, we cover the tough surfaces individually: brick, stucco, vinyl siding, and the roofline. Read the one that matches your walls before you buy clips, so you get a fastener that actually grips your surface.
Powering an outdoor display safely
The GFCI outlet is the heart of a safe outdoor display. It cuts power in a fraction of a second if moisture lets current leak to ground, and every outdoor strand should run from one — use a portable GFCI adapter if your exterior outlet lacks the protection. Use only outdoor-rated cords, keep connectors up off wet ground, and stay within the connect limit printed on each strand tag. LED strands are the outdoor default because they draw a fraction of the current of incandescent, so you can run longer chains and light more of the house on fewer outlets. For sets owners rate outdoors, see the best outdoor christmas lights roundup.
Automating with a timer
A timer or smart plug is what turns a display into something you set once and forget. An outdoor timer switches the lights on at dusk and off overnight on a schedule, so you never flip a switch or climb back up. Smart plugs add phone and voice control through systems like Alexa or Google Home. Either way, automation saves power and spares you touching the wiring all season — the best christmas light timer roundup covers the options.
Common mistakes to avoid
- Using indoor lights or cords outside. They are not sealed against rain. Use outdoor-rated gear only.
- Skipping the GFCI outlet. It is the key shock protection. Always power outdoor lights from a GFCI.
- Stapling through the wire. It pierces the insulation and risks a fire. Use surface-matched clips.
- Overloading a single chain. It overheats wire and trips breakers. Split across GFCI outlets.
- Overreaching from the ladder. Move the ladder rather than stretch for the next clip.
Related outdoor lighting guides
For specific elements of the display, see how to hang lights on gutters, how to hang lights on a tree outside, and the mount-once route in installing permanent christmas lights.
Our Picks