
Affiliate Disclosure
Some links on this page are affiliate links. As an Amazon Associate, we earn from qualifying purchases — at no extra cost to you. We do not buy, install, or physically handle the lights and decorations we cover; our rankings come from aggregated owner feedback and expert consensus, not first-hand testing. Commissions never change our verdicts. How we research · full disclosure.
Top 3 Picks
Learning how to hang Christmas lights on a deck railing brings the display up to where you gather, framing the deck with a warm glow you enjoy from both inside and out. You can run a strand straight along the top rail, spiral it around the rail, or weave it through the balusters for a fuller scalloped look. This guide covers all three techniques, no-damage fastening, even spacing, and powering the railing safely through winter.
Tools and materials for deck railing lights
- Outdoor-rated LED strands measured to the railing length
- Reusable outdoor clips, zip ties, or clothespin-style light clips
- S-hooks for metal balusters (optional)
- A GFCI-protected outlet, outdoor extension cord, and timer
- A tape measure
How to hang Christmas lights on a deck railing, step by step
- Choose the technique. Decide between a straight top-rail run, a spiral wrap around the rail, or weaving through the balusters.
- Measure the railing. Measure the total rail length, add slack (more for weaving or spiraling), and match it to lit strand length.
- Test the lights. Plug in every strand and confirm it works before mounting.
- Start at the outlet corner. Anchor the strand at the corner nearest the power source.
- Run or weave the strand. Fasten a straight run along the top rail, or weave over-under through the balusters at an even rhythm.
- Keep the scallops even. If weaving, make every dip the same depth so the scallops match around the deck.
- Fasten securely. Clip or zip-tie the strand so snow and wind cannot pull it loose.
- Route power and add a timer. Run the cord to a GFCI outlet within the connect limit, add a timer, and light it at dusk.
Three ways to light a deck rail
The look you want decides the technique. A straight top-rail run is the cleanest and fastest: fasten the strand along the top edge of the rail with reusable clips about every foot, keeping it taut for a sharp line that suits a modern deck. A spiral wrap turns the rail itself into a candy-cane of light — wrap the strand around the rail at even spacing for a fuller effect. Weaving through the balusters is the fullest of the three: run the strand up and over one baluster and down behind the next in a steady over-under rhythm, which creates a row of even scallops. All three use reusable clips or zip ties so nothing damages the rail. The best christmas lights for deck railing roundup covers strands sized and rated for this job.
Getting even scallops when weaving
Weaving looks best when every dip is identical. Start at a corner near the outlet and keep the spacing between balusters even, making each scallop the same depth as you go — eyeballing the first few and then matching them keeps the rhythm. Because the strand travels up and down the whole way, weaving uses noticeably more light than a straight run, so measure generously and buy extra. Mini lights pack more points of light per foot and read as fuller in the scallops. For efficient exterior strands, see the best outdoor christmas lights guide.
Fastening without damage
A deck rail should come through the season unmarked. Reusable outdoor clips, zip ties, and clothespin-style light clips all hold a strand with no holes and no adhesive, and they remove in minutes in January. On a wood rail, clip to the top edge; on metal balusters, zip ties or S-hooks grip cleanly. Fasten securely rather than just draping, because snow and wind will drag a loose strand down over a long winter. The best christmas light clips guide covers clip styles that suit rails and balusters.
Powering the railing safely through winter
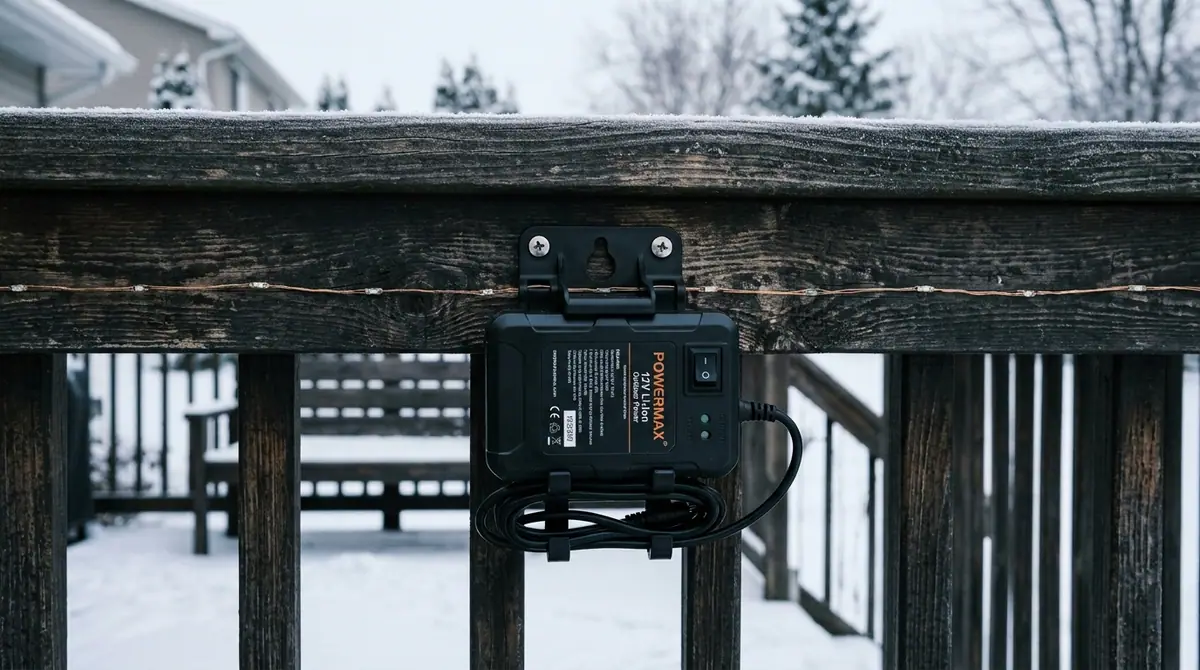
A deck railing sits out in the full weather, so keep the electrics dry and secure. Use outdoor-rated lights and cords, plug into a GFCI-protected outlet, and keep every connector up off the deck boards where snow melts and pools. Stay within the connect limit, route the cord so no one trips on the deck, and add a timer or smart plug so you never touch a plug in freezing, wet conditions. Check the run after each storm and reseat anything a snow load pulled loose.
Common mistakes to avoid
- Uneven scallops. Mismatched dips look messy. Keep every weave the same depth.
- Loose draping. Snow drags it down. Fasten securely with clips or zip ties.
- Connectors on the deck boards. Melting snow shorts them. Keep connections up and dry.
- Underbuying for a weave. Weaving uses far more light. Measure generously.
- No GFCI or timer. Outdoor lights belong on a GFCI outlet with a timer.
Related outdoor lighting guides
A deck rail shares techniques with other rails and posts. See how to hang lights on a porch for railings and posts, how to hang lights on a fence for the same rail approach, and how to wrap lights around columns for deck posts.
Our Picks