
Affiliate Disclosure
Some links on this page are affiliate links. As an Amazon Associate, we earn from qualifying purchases — at no extra cost to you. We do not buy, install, or physically handle the lights and decorations we cover; our rankings come from aggregated owner feedback and expert consensus, not first-hand testing. Commissions never change our verdicts. How we research · full disclosure.
Top 3 Picks
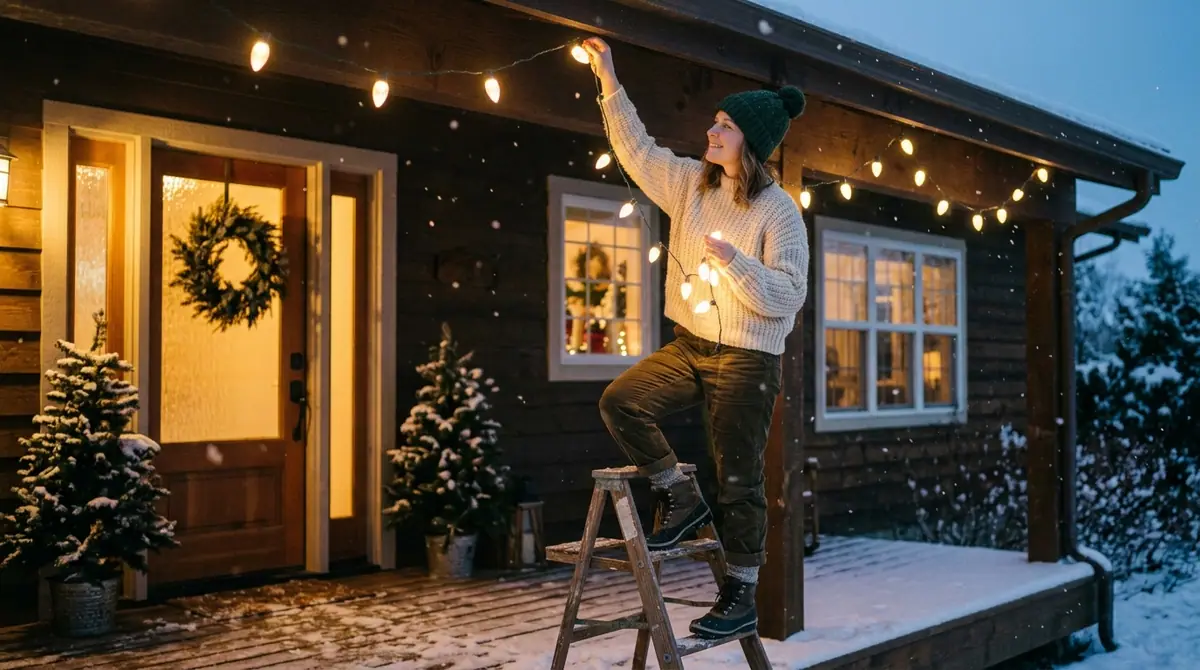
Learning how to hang Christmas lights on a porch is one of the most rewarding outdoor projects, because a covered porch protects the lights and puts the display right at eye level. The classic approach outlines the roofline, wraps the posts, runs the railings, and drapes a lit garland across the top for depth. This guide walks through attaching lights to the ceiling and beams, spiraling the posts evenly, and powering it all safely.
Tools and materials for a porch display
- Outdoor-rated warm-white or multicolor LED strands
- A pre-lit or plain garland to add greenery and depth
- Outdoor adhesive clips or screw-in cup hooks for the ceiling and beams
- Zip ties or floral wire for wrapping posts and railings
- A GFCI-protected outlet, outdoor extension cord, and timer
- A step stool or short ladder and a tape measure
How to hang Christmas lights on a porch, step by step
- Plan the outline. Decide what to light: the roofline or ceiling edge, the posts, the railings, and a garland across the top.
- Measure each run. Measure the roofline, posts, and railings, add slack, and match the totals to lit strand lengths.
- Test the lights. Plug in every strand and garland and confirm they work before mounting.
- Attach the ceiling clips. Place adhesive clips or cup hooks about every 12 inches along the ceiling edge or beam, following a straight line.
- Run the roofline strand. Seat the strand into each clip, keeping it taut so the outline reads as a clean frame.
- Wrap the posts. Anchor at the base and spiral up each post at even spacing, all in the same direction.
- Light the railings and garland. Weave a strand along the railings and drape a lit garland across the roofline for depth.
- Route power and add a timer. Run the cord to a GFCI outlet within the connect limit, add a timer, and light it at dusk.
Outlining the porch roofline and ceiling
The frame that makes a porch read as decorated is the outline along the top. On a porch ceiling or the underside of the roofline, small outdoor adhesive clips or screw-in cup hooks placed about every 12 inches carry a strand in a straight line with no visible damage. Adhesive clips peel off cleanly after the season, while cup hooks are semi-permanent but disappear against a beam and make re-hanging effortless next year. Follow the ceiling edge or a single beam so the light traces the porch's own lines. Warm-white mini lights give the classic cozy glow, but the technique is the same in any color, and mini lights pack more points of light per foot for a fuller outline. The best outdoor christmas lights roundup covers strands owners rate for exterior use.
Wrapping posts and railings
Posts and railings bring the light down to eye level. Anchor the strand at the base of a post, then spiral it upward with even spacing — a few inches per turn — keeping every wrap parallel so the spiral looks deliberate rather than random. Wrap all the posts in the same direction and at the same spacing so they match across the porch. Railings take a strand woven along the top rail or between the balusters. A lit garland wrapped alongside the post strand adds greenery and hides the wire between turns. For garland options, see the best christmas garland with lights guide.
Choosing color and adding depth
Warm white is the safe, classic choice and pairs with any front-door decor, while multicolor is playful and reads well for a family display. A common approach is warm white on the structure — posts, roofline, railings — with color saved for a single accent like a wreath. Depth comes from layering: the flat outline of strand light plus the three-dimensional bulk of a lit garland across the top makes the porch feel full rather than merely outlined. Keep the whole porch consistent in color and spacing so it looks designed.
Powering the porch safely
Even under a roof, use outdoor-rated lights and cords and plug into a GFCI-protected outlet, because wind-driven rain and cold still reach a covered porch. Keep connections up off the floor, route cords so no one trips across the entry, and add a timer so the porch lights itself each evening. LED strands connect into long runs and draw little current, so a full porch usually runs on a single circuit within the connect limit.
Common mistakes to avoid
- Uneven post wraps. Random spacing looks messy. Keep the spiral parallel and consistent on every post.
- Indoor lights outside. They fail in the weather. Use outdoor-rated strands even under cover.
- Nailing into the ceiling. Use adhesive clips or cup hooks for a clean, reusable result.
- Tripping cords. Route power along edges, not across the entry, and secure it.
- No timer. A timer runs the display so you are not plugging and unplugging nightly.
Related outdoor lighting guides
A porch connects to the roofline and to columns. See how to wrap lights around columns for the posts, how to hang lights on a deck railing for railings, and how to hang lights on shingles for the roofline above.
Our Picks