
Affiliate Disclosure
Some links on this page are affiliate links. As an Amazon Associate, we earn from qualifying purchases — at no extra cost to you. We do not buy, install, or physically handle the lights and decorations we cover; our rankings come from aggregated owner feedback and expert consensus, not first-hand testing. Commissions never change our verdicts. How we research · full disclosure.
Top 3 Picks
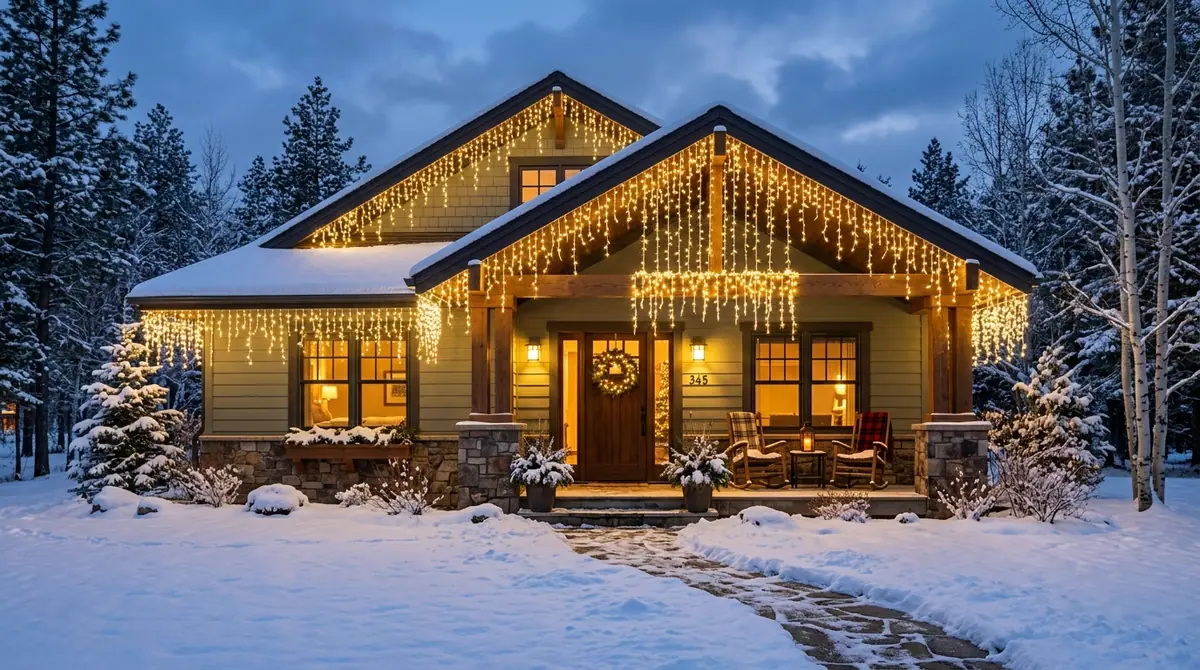
Learning how to hang icicle lights is mostly about one detail: keeping the top wire taut and level so the drop strands fall straight down. Icicle lights create their layered effect from varied-length drops, and that effect only works when the horizontal wire runs true along the gutter or eave. This guide covers clipping the top wire, spacing to stop sag, orienting the drops, and powering the run safely.
Tools and materials
- Outdoor-rated icicle lights measured to your eave length
- All-in-one gutter or shingle clips that grip the top wire
- A sturdy ladder and a spotter, or a light-hanging extension pole
- Outdoor extension cords and a GFCI-protected outlet
- An outdoor timer or smart plug
- A tape measure and a helper
How to hang icicle lights, step by step
- Measure the eave run. Total the gutter or eave length you want to cover, add about 10% for slack and corners, and match it to the lit length on the icicle-light box.
- Choose clips that grip the top wire. Pick all-in-one gutter or shingle clips, or clips made for icicle lights that hold the horizontal wire between the drops.
- Test the strand on the ground. Plug in and confirm the whole set lights, including the drop strands, before it goes up.
- Clip the top wire level. Hook the horizontal wire into each clip along the gutter or shingle edge, keeping it taut and level so the drops hang straight.
- Space clips every 12 inches. Consistent close spacing keeps the top wire from sagging under the weight of the drops.
- Point the drops down and untangle them. As you go, make sure each drop strand falls straight and free rather than twisting up onto the wire.
- Reinforce the corners. Add an extra clip at each corner and downspout so the line stays crisp across the gap.
- Run the cord, add a timer, and inspect. Route the outdoor cord to a GFCI outlet within the connect limit, add a timer, light it at dusk, and straighten any twisted drops.
Getting the icicle effect: drops down, top wire taut and level
Icicle lights only look like icicles when two things are right. First, the drop strands must point straight down — as you clip along, run a hand down the wire to free any drops that twisted up during storage. Second, the top wire must be taut and level, because a sagging wire makes the drops hang at angles and bunch together. Clip the horizontal wire every 12 inches and it stays true. The varied drop lengths do the rest, layering short and long strands into the frozen look. For sets owners rate for this, see the best icicle christmas lights roundup.
Gutter clips and all-in-one clips for the top wire
The right clip grips the top wire, not the drops. All-in-one clips flip between the gutter lip and the shingle edge, so a single clip type follows a roofline that mixes gutter with bare eave. Match the clip to your bulb size, and choose clips rated for outdoor use so they hold through winter. The best christmas light clips for gutters roundup compares gutter clips and all-in-one clips by wire and bulb type.
Stopping sag: clip spacing along the eave
Sag is the number-one icicle-light complaint, and it is always a spacing problem. The drops add weight the whole length of the run, so clips spaced too far apart let the wire dip between them and the drops fan unevenly. Keeping clips about every 12 inches along the eave — and adding one at any low point that still dips — holds the top wire level. Corners need their own clip on each side so the line does not slump across the gap.
Where icicle lights work best: gutter, eave and fascia
Icicle lights are made for a horizontal edge: the gutter, the eave, a porch fascia, or a deck rail. They shine along a clean roofline where the drops can hang free and clear of doorways and walkways. On a single-story home you can reach the eave from a ladder or an extension pole; a two-story upper eave needs an extension ladder and a spotter. The gutter is the most common mounting point, so the how to hang icicle lights on gutters guide covers that specific case in detail.
Powering an icicle run: GFCI, LED strands and the connect limit
Run an outdoor-rated extension cord from a GFCI-protected outlet and keep every connector off the wet ground. LED icicle strands are the practical pick because each LED draws a fraction of the current of an incandescent bulb, so an LED set chains into a longer run within its connect limit. Icicle strands are built to chain along a roofline, but the drops draw current the whole length, so stay within the maximum on the tag. For a long eave, run two shorter icicle runs back to separate outlets rather than one overloaded chain. Finish with a timer so the LED display comes on at dusk without you touching it.
Common mistakes to avoid
- Clips spaced too far apart. The top wire sags and the drops bunch. Clip every 12 inches.
- Twisted drop strands. They kill the icicle look. Run a hand down the wire to free every drop.
- An uneven top wire. A wavy line ruins the effect. Keep the horizontal wire taut and level.
- Chaining past the connect limit. It overheats the wire. Split a long eave across outlets.
- No GFCI or timer. Outdoor lights belong on a GFCI outlet, and a timer runs the display for you.
Related outdoor lighting guides
Icicle lights pair with a lit roofline and wrapped trees. See how to hang lights on a roof and how to wrap lights around a tree, and put the strands away right with how to store christmas lights.
Our Picks