
Affiliate Disclosure
Some links on this page are affiliate links. As an Amazon Associate, we earn from qualifying purchases — at no extra cost to you. We do not buy, install, or physically handle the lights and decorations we cover; our rankings come from aggregated owner feedback and expert consensus, not first-hand testing. Commissions never change our verdicts. How we research · full disclosure.
Top 3 Picks
To make a bow for a Christmas tree topper, cut several lengths of wide wired ribbon, form them into stacked loops of decreasing size, bind the center tightly with floral wire, then fluff the loops and add long streamer tails before fastening it to the top of the tree. The secret is wired-edge ribbon: the thin wire holds each loop open so the bow stays full and symmetrical for the whole season instead of flopping after a week. This guide walks the whole bow from first cut to attaching it.
What you need: wired ribbon, floral wire, and scissors
- About 5 to 10 yards of wide wired-edge ribbon (2.5" to 4" reads best on a topper)
- An optional second, thinner ribbon in a coordinating color for depth
- Floral wire (paddle wire or pre-cut lengths) to bind the center
- Sharp scissors, and pliers for twisting the wire
- A tape measure to keep the loops even
- Your Christmas tree topper spot cleared and ready
How to make a bow for a Christmas tree topper, step by step
- Cut your ribbon lengths. Cut several strips of wired ribbon, longest for the bottom loops and shorter as you go up, plus two extra-long pieces for the streamer tails.
- Form the first pair of loops. Pinch the ribbon at the center and fold one loop out to the side, then a matching loop to the other side, keeping them the same length.
- Stack more loops. Add pairs of slightly smaller loops on top of the first, pinching each at the center so they all gather in the same spot.
- Bind the center with floral wire. Wrap floral wire tightly around the pinched middle and twist it closed, leaving long wire tails for attaching the bow later.
- Add the streamer tails. Fold the two long pieces over the wire so their ends hang down, and notch or angle-cut the tips so they do not fray.
- Fluff and shape. Open each loop by hand, twist the wired edges to hold the shape, and balance both sides until the bow looks full and symmetrical.
- Attach it to the tree. Wrap the floral-wire tails around the top branch or center pole and twist tight, then tuck the streamer tails down into the branches so the bow reads as part of the tree.
Choosing wired ribbon: satin, velvet, burlap, or deco mesh
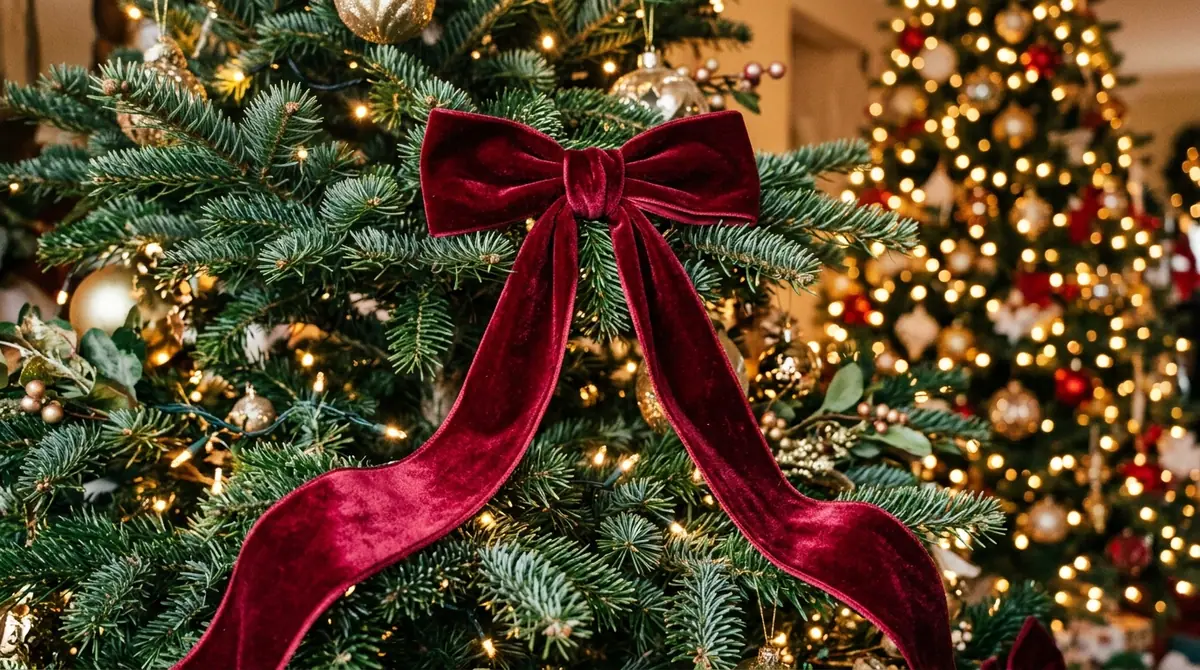
Ribbon choice makes or breaks the bow. Wide wired ribbon is the easiest to shape because the thin wire along each edge holds the loops open and lets you bend the bow into a full, standing form. Satin gives a glossy, formal look. Velvet reads rich and traditional. Burlap suits a rustic or farmhouse tree, and deco mesh builds a big, airy bow fast. What matters most is that the ribbon is wired — soft, unwired ribbon flops and will not keep its loops standing after a few weeks on the tree.
Cut the ribbon to width and add streamer tails
For a topper that carries across a room, favor 2.5-inch to 4-inch width. Buy a little extra so you can cut generous streamer tails, and angle-cut or notch each tail so it does not fray.
Fluff the loops into a symmetrical, stacked bow
After you bind the center, open each loop by hand and twist the wired edges so they hold. Work in mirrored pairs, largest loops on the bottom and smallest stacked on top, and balance both sides until the bow looks symmetrical from across the room.
Layering ribbon for a fuller, layered bow
A single ribbon makes a clean bow; two ribbons make a designer one. Cut a second, thinner ribbon in a coordinating color or pattern and lay its loops over the first before you bind the center, so the two gather together. The layered look adds depth, hides any loop that came out uneven, and ties the topper to the rest of your color scheme. Metallic over matte, or a patterned ribbon over a solid, both work well. Keep the wire tails from both ribbons together at the center so you still have a single strong point to fasten to the tree.
Attaching the bow to the center pole of a pre-lit tree
A topper bow only looks right when it sits securely and blends into the branches. Use the long floral-wire tails you left at the center: wrap them around the top branch or the tree's center pole and twist them tight with pliers so the bow cannot slip or tilt. On a pre-lit Christmas tree, fasten to the sturdiest top section and route the wire around, not through, the light wiring so you do not pinch it. Finally, cascade a couple of streamer tails down into the upper branches — that is what makes a bow read as part of the tree rather than something perched on top. New to toppers in general? See what a Christmas tree topper is for the range of options a bow can replace or complement.
Common bow-making mistakes
- Using unwired ribbon. The loops collapse within days. Choose wired-edge ribbon for a topper.
- Uneven loops. A lopsided bow shows from across the room. Work in mirrored pairs and measure.
- Binding too loosely. The center slips and the bow sags. Wrap the floral wire tight and twist it off.
- Tails cut too short. Short tails look stubby. Leave long streamers to cascade into the branches.
- Pinching the light wiring. On a pre-lit tree, wrap the wire around the branch, not through the lights.
A bow topper pairs with the rest of your tree trimmings. For coordinating pieces, browse the Tree Accessories hub, compare the best Christmas tree topper options, and finish the base with a Christmas tree skirt and a sturdy Christmas tree stand.
Our Picks